Tính năng Premium: Thẻ meta tùy chỉnh chỉ khả dụng cho người dùng gói Premium. Nếu không có quyền truy cập Premium, liên kết sẽ sử dụng thẻ meta mặc định của Li2.ai khi được chia sẻ.
Trong menu bên trái, chọn Link Rút Gọn
Tìm link cần chỉnh sửa, nhấp Tên Link hoặc nhấp vào ô ba chấm và chọn biểu tượng Sửa .
Tại màn hình chi tiết, chọn tab Nâng cao
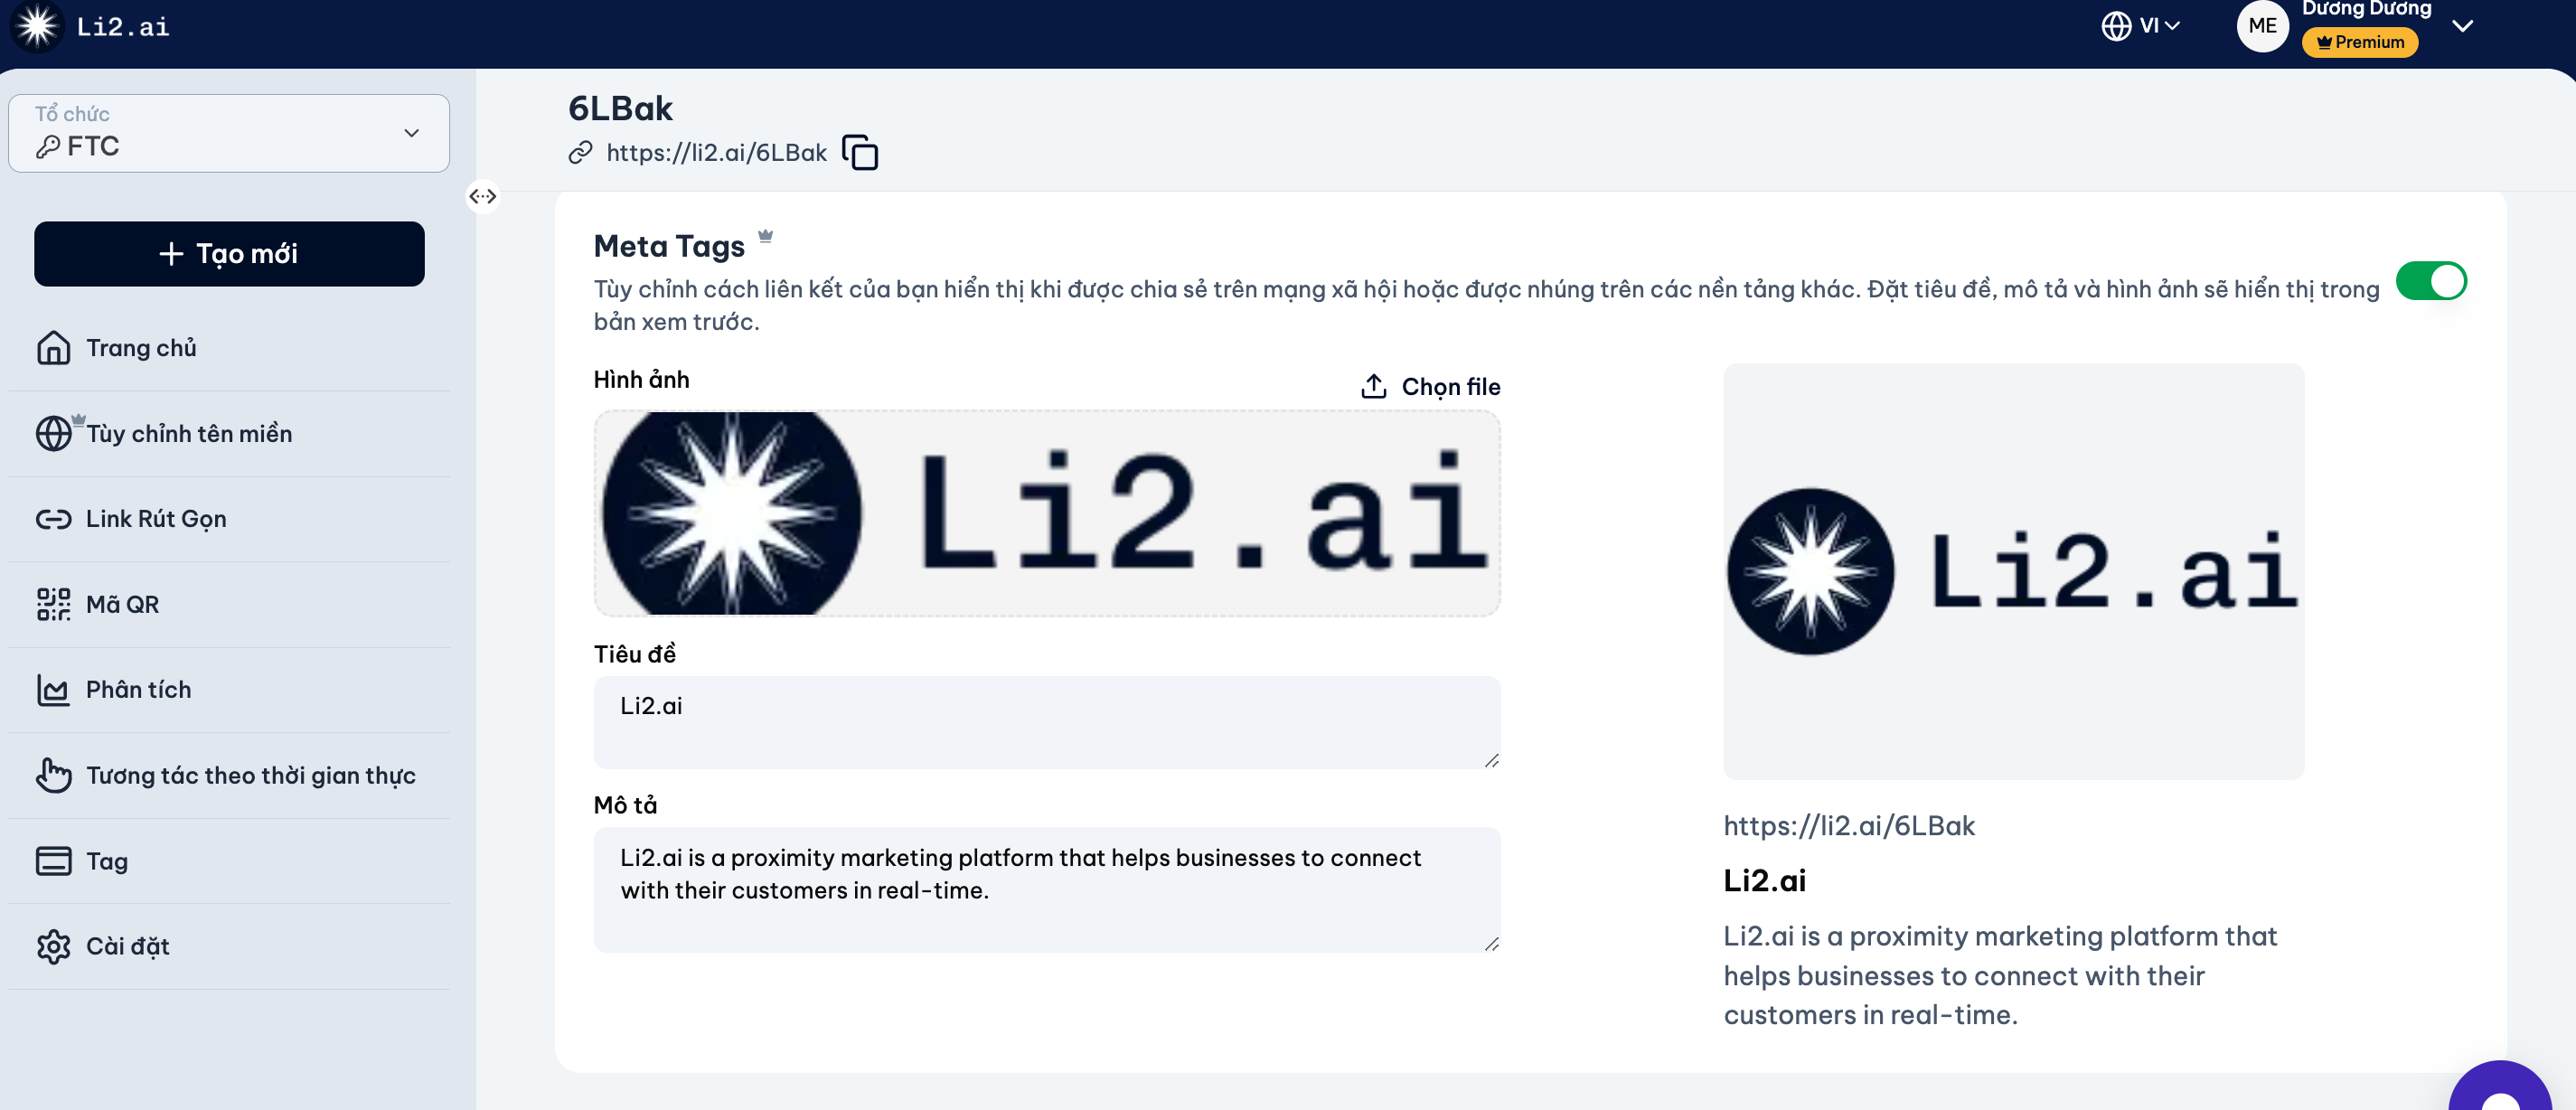
Tùy chỉnh các thông tin:
- Hình ảnh: Tải lên hình ảnh đại diện cho link.
- Tiêu đề: Nhập tiêu đề muốn hiển thị.
- Mô tả: Viết mô tả ngắn gọn về nội dung link.
-
Xem trước giao diện hiển thị ở khung bên phải